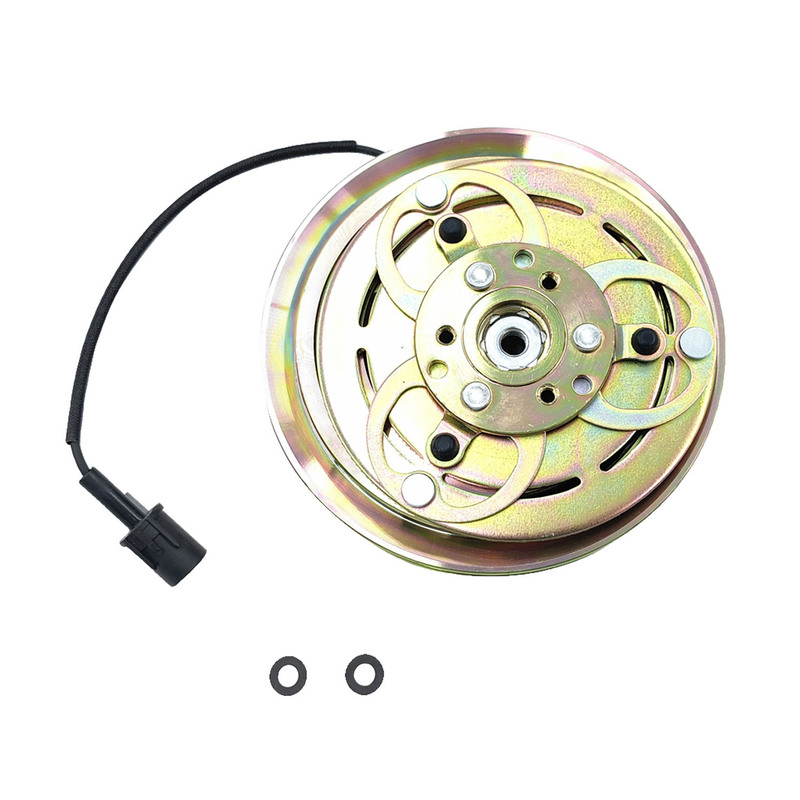
Air Conditioning AC Compressor Clutch Fit For Toyota Hilux 2005-2012 88410-71040
SKU: ACLM-TAXX1
$151.00
Sale 17% OFF
FIND YOUR VEHICLE
FIND YOUR VEHICLE
SKU: ACLM-TAXX1
$151.00
SKU: ACLM-TA003
$137.00
SKU: ACLM-MA001
$139.00
SKU: ACLM-TA002
$143.00
SKU: ACLM-HD003
$119.00
SKU: ACLM-VW002
$68.00
SKU: ACLM-OP002
$71.00
SKU: ACLM-NS002
$176.00
SKU: ACLM-HD001
$136.00
SKU: ACLM-TA004
$199.00
SKU: ACLM-HD002
$136.00
SKU: ACLM-SB003
$136.00
SKU: ACLM-SB002
$168.00
SKU: ACC-HLN019
$532.00
SKU: ACLM-NS003
$154.00
SKU: ACLM-JP001
$144.00
SKU: ACC-NS001
$160.00
SKU: ACLM-HY001
$150.00
SKU: ACLM-VW001
$132.00
With Machter’s aftermarket AC compressor clutch kits, your car will stay cool and comfortable during even the hottest summer months. Our quality clutches for AC compressors are designed to fit your car’s specific make and model, providing a perfect fit and seamless integration with your car's existing cooling system. Whether you need a Subaru, Mazda 3 or Nissan X Trail AC compressor clutch, we have you covered at Machter!
AC compressor clutches are crucial components of a solid car cooling system, along with thermostats, water pumps and check valves. A first-rate AC clutch compressor will regulate the temperature within your car, creating a pleasant environment in which to drive. It will also help to reduce wear and tear on the AC compressor, and improve the fuel efficiency of your vehicle. At Machter, we understand the importance of a well-functioning car AC compressor clutch. This is why we make sure to provide Mazda 3, Nissan X Trail and Subaru AC compressor clutches of exceptional quality. We’ve made it our mission to offer the widest range of products on the market, all at competitive prices. This ensures that you can always find the perfect solution for your car at Machter.
Whether you’re looking to cool your engine or yourself, Machter has a host of options ready to go. Our durable and reliable radiator fan blades will keep your engine cool and fully functional. We offer replacement fan blades that are compatible with a variety of vehicles, allowing you to replace this component as soon as it starts to deteriorate. Our range also includes viscous fan clutches, which work to ensure that your engine doesn’t overheat during long drives. With our products keeping its cooling system functional, your car can stay cool and comfortable during your daily commutes or your next big road trip.
At Machter, we’re dedicated to offering a broad selection of high-quality, masterfully designed and made aftermarket car parts. You can also trust us to find compatible car parts for your vehicle, with our Mazda 3 AC compressor clutches just one such example. The quality of our products ensures that you can pay less without compromising on your car’s efficiency, performance or safety. As a result of our quality goods and services, we have been providing mechanics and auto enthusiasts with reliable parts for more than two decades.
When it comes to vehicle maintenance, it’s important to pay attention to the cooling system. This system is made up of essential components that can wear out, malfunction, or develop leaks. Replacing these auto parts in a timely manner is crucial for maintaining the optimal temperature of the engine and preventing overheating. It will also help to minimise the need for costly repairs, ensuring that your car runs smoothly and reliably for years to come. Chill out on your next drive with a fresh clutch for your AC compressor from Machter!

Automotive parts specialist
Manufacturer and importer

Wide range of aftermarket car parts

Distributed worldwide

Specialist expertise and support